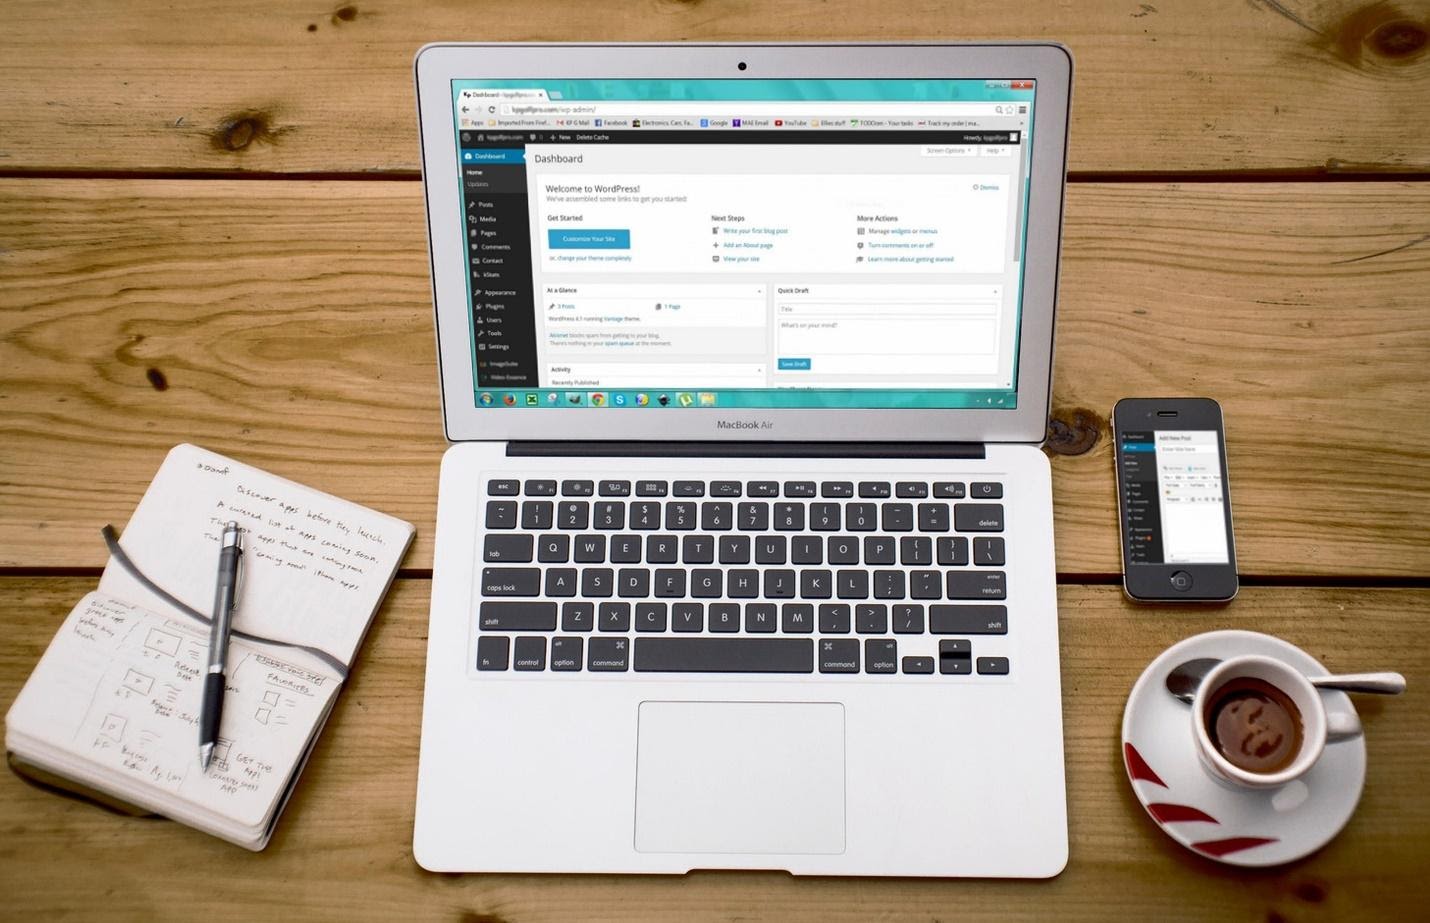
In building a client small business website, it is necessary to determine the cost of production.
Let’s consider this scenario: A lawn care business approaches your agency for their new website. They want something simple, just a few pages, along with a contact form to request an appointment. You recommend your entry level web design package to them.
As a digital agency, let’s see how much it costs to deliver this kind of entry level website project.
Phase 1: Requirements Gathering (1 – 2 hours)

Identifying requirements is the first step in the process. It is generally the role of an Account Manager (AM) to manage client relationships. Once there’s a new client, he or she should take over in communicating with them.
The most important areas to establish initially are the business goals of the website, and also the positioning of their brand in the marketplace. This can generally be accomplished best by a half hour in-person meeting or phone conversation. During this process, the account manager should keep detailed notes, and make them available to the development team, as part of the project documentation.
It’s also important during this phase to set the expectations of the client. Recommending an entry level web design package for their business sets certain limitations on the amount of design customization as well as number of pages in the project.
Phase 2: Content Gathering (1 – 2 hours)

Once the project is confirmed, and the business and brand goals of the project are clear, the content gathering process can begin. For this, it’s generally a very good idea to have a content collection form, to formally request all of the needed information for the web design project.
Experienced web design agencies know, that waiting for a client to deliver information needed for a project can be painful, and cause a project to drag on and on. Using a content collection form can dramatically streamline the process.
Some agencies just email the document to their client, and ask them to fill it out. It’s probably better to have an account manager work through the form with the client, to help them to understand it. This can be done as an online meeting, or even just over the phone. Generally it’s safe to budget an hour of time for this.
The Account Manager should get all the necessary resources – text, images, videos, charts, templates etc — as well as content from the client. Any media files – such as videos, images, charts – and other documents should be shared under a new project folder on a file sharing system such as Dropbox or Google Drive.
It usually takes a day or less to gather quality information from the client. Here is our content collection form to start you off:

Phase 3: Selection and Purchase of a Template (1-2 hrs)

After the Account Manager has gathered the requirements for the project as well as the contents needed, the next step is deciding what template to use. There are free website templates available online, though generally it’s smarter to pay for a premium template, especially for a small business with a limited budget.
You can buy premium template for as little as 2 dollars, and have a responsive, professional level template that matches your client’s needs. Genesis is one popular option, as it is easy to integrate with WordPress because of its flexible features. Another option to consider is the theme marketplace called Themeforest. Many different designers submit themes to Themeforest, and there are many professional level options to choose from.
In some cases, a theme marketplace like Themeforest will have themes that are optimized for the niche of business in which your client operates. In other cases, you’ll need to customize a general purpose theme.
Phase 4: Setup Hosting, Install CMS, Add Plugins and Analytics (3 – 5 hours)

It’s generally a good idea to have your own hosting service that you can provide to clients. The benefits of this include:
- Familiarity with the hosting account setup process;
- Control of the hosting, for long term support;
- Ease for the client (so that they don’t need to worry about signing up for their own hosting account)
It really does make a difference to have a client use the hosting service that you provide. In some cases, it actually makes sense to charge an extra service fee if the client wants you to use their own hosting service. Hours of developer time can be lost trying to gain access to servers, setting permissions on FTP, and learning to navigate a new hosting platform control panel.
Once the hosting account has been set up, its time to move on to the CMS. While there are many different free and open source CMS systems available today, its really a good idea to pick one and become an expert in it. This will allow your team to work quickly, and to know which plugins can be used. A good option for most people is WordPress.
With WordPress installed, the next step is to install all of the plugins that you are including with your entry level web design package.
A good set of recommended plugins to start with are:
Contact Form: Contact Form 7
Contact Form 7 is simple but very flexible. It can manage multiple contact forms. Plus the form and email content can also be customized using a simple markup.
SEO Plugin: SEO Yoast
SEO Yoast incorporates a snippet editor with on page analysis and functionality to optimize your pages content, meta descriptions, meta titles, meta keywords and image titles. Yoast also comes with XML sitemaps and other optimization options your site needs.
Spam protection: Akismet
Akismet is a plugin that filters spam from content form messages, trackbacks and comments. It makes sure that spam does not mess with your search rankings.
Maps Plugin: WP Google Maps
WP Google Maps allows you to create unlimited maps, location and display. Useful for adding a map to show your clients’ business location and highlight locations of interest.
Security: Wordfence
To protect your WordPress site from hackers and malware.
Backup System: Updraft Plus
Updraft Plus allows you to create a complete backup of your WordPress site, store it on the cloud and download direct to your computer. You can also create scheduled backups and store them in the location of your choice.
This entire setup process can usually be completed in 3 to 5 hours by a developer or webmaster who is familiar with your selected CMS.
Phase 5: Website Design / Customization of Template / Adding Contents (1-2 Days)

The next step is the actual design and customization of the selected template to meet the business and brand goals of the client. It’s important for the designer working on this project to review the notes from the account manager before starting, as well as reviewing the reference sites provided by the client on the content collection form.
The most important steps of phase 5 include:
- Installing the selected theme into the CMS;
- Customization of the theme, including adding the business branding and colors of the client;
- Creating the pages in the CMS and customizing the navigation and the header;
- Building out all of the pages, including adding content, images, videos, sliders, and other media files;
- Creating the lead form and adding the short code to the Landing page and Contact Us page.
This is probably the most time-intensive part of the project. One to two (1-2) days (8 to 16 hours) is a safe estimate in a case where an experienced designer is working on the project. It might take a little bit longer if the designer has less experience or is working with a new theme. It could take a little less time if the designer is familiar with the theme, or if the client didn’t provide many media files to be included into the project.
You will, however, save a great deal of time by working with a pre-developed template. This should prevent the need for extensive custom coding, and the template should be mostly bug-free and mobile responsive.
Phase 6: Quality Assurance (2 – 4 hours)

In this phase, the QA Specialist or Project Manager will test all aspects of the website, including, but not limited to, the following:
- Does it meet the client requirements for their business goals and brand position?
- Has the content from the content collection form been properly integrated?
- Does the website work (navigation works, contact form works, no dead links, no missing images / broken image links)?
- Does the site work across devices (mobile devices, iPads, etc)?
- Is the site usable and are there clear cues for what visitors should do on the site?
- Spelling and grammar.
Any issues should be reported back to the development team and addressed as soon as possible.
Phase 7: Review with the Client (30 minutes / 1 hour)

Once the website is completed, ideally the account manager will schedule a review of the new website with the client. Before the meeting, the account manager should do a final QA of the site.
After the meeting, the client will have full access to the development site. In some cases, a client may request some final tweaks or changes before the site goes live.
Phase 8: Launch (30 minutes / 1 hour)

During this phase, the website goes live on the server and the domain name of the client is updated to point to the new website.
Now that we have an idea of the resources needed to produce the website, as well as the man hours involved, you can now fill out our sample template below, including the hourly rate of your manpower, to get a final estimate of the cost of the finished website project.


